(As an Amazon Associate I earn from qualifying purchases)
A great way to secure your Lowrance Ghost trolling motor to the deck of your bass boat is with the TROLL TAMER. This little device locks the trolling motor down to the deck when stowed away and making necessary runs, and easily unlatches when ready to deploy and fish. In this blog, we discuss the perfect way to add the troll tamer accessory to your boat with the Lowrance Ghost.
Installation & required parts
Here is a list of the required parts necessary for installation:
https://amzn.to/3cRQNJG – Lowrance Ghost
https://amzn.to/3TKSgC7 – Troll Tamer
https://amzn.to/3RHY7Xc – Rivet gun
https://amzn.to/3KQO2EP – 3/16 x 1-3/16 rivets silver
https://amzn.to/3QjWnlC – 3/16 x 1 rivets silver
https://amzn.to/3KPEIkI – ⅜”-16 threaded tap for ghost stabilizer rod
https://amzn.to/3QntlBw – tap cutting fluid for above threaded tap
Step #1 – Mount your Lowrance Ghost
For all intents and purposes of this blog, let’s just assume that the trolling motor is already safely and securely mounted to the bow of your vessel.
Step #2 – Tap the Ghost Stabilizer Bar
Half deploy the ghost so that the stabilizer bar is lifted for accessibility. Pull the rubber cap off the end of the ghost stabilizer bar to expose an existing hole, which is what makes the troll tamer accessory so easy to add to the Ghost.
Using a ⅜”-16 drill tap with tapping fluid (linked above), tap the stabilizer bar hole with a battery operated drill. The troll tamer bolt is a ⅜-16 threaded bolt, which can then be tightened into the stabilizer bar that was just tapped. Make sure you tap it deep enough so that the end of the troll tamer bolt hits the deck with enough room for the trolling motor to still be locked/stowed away.

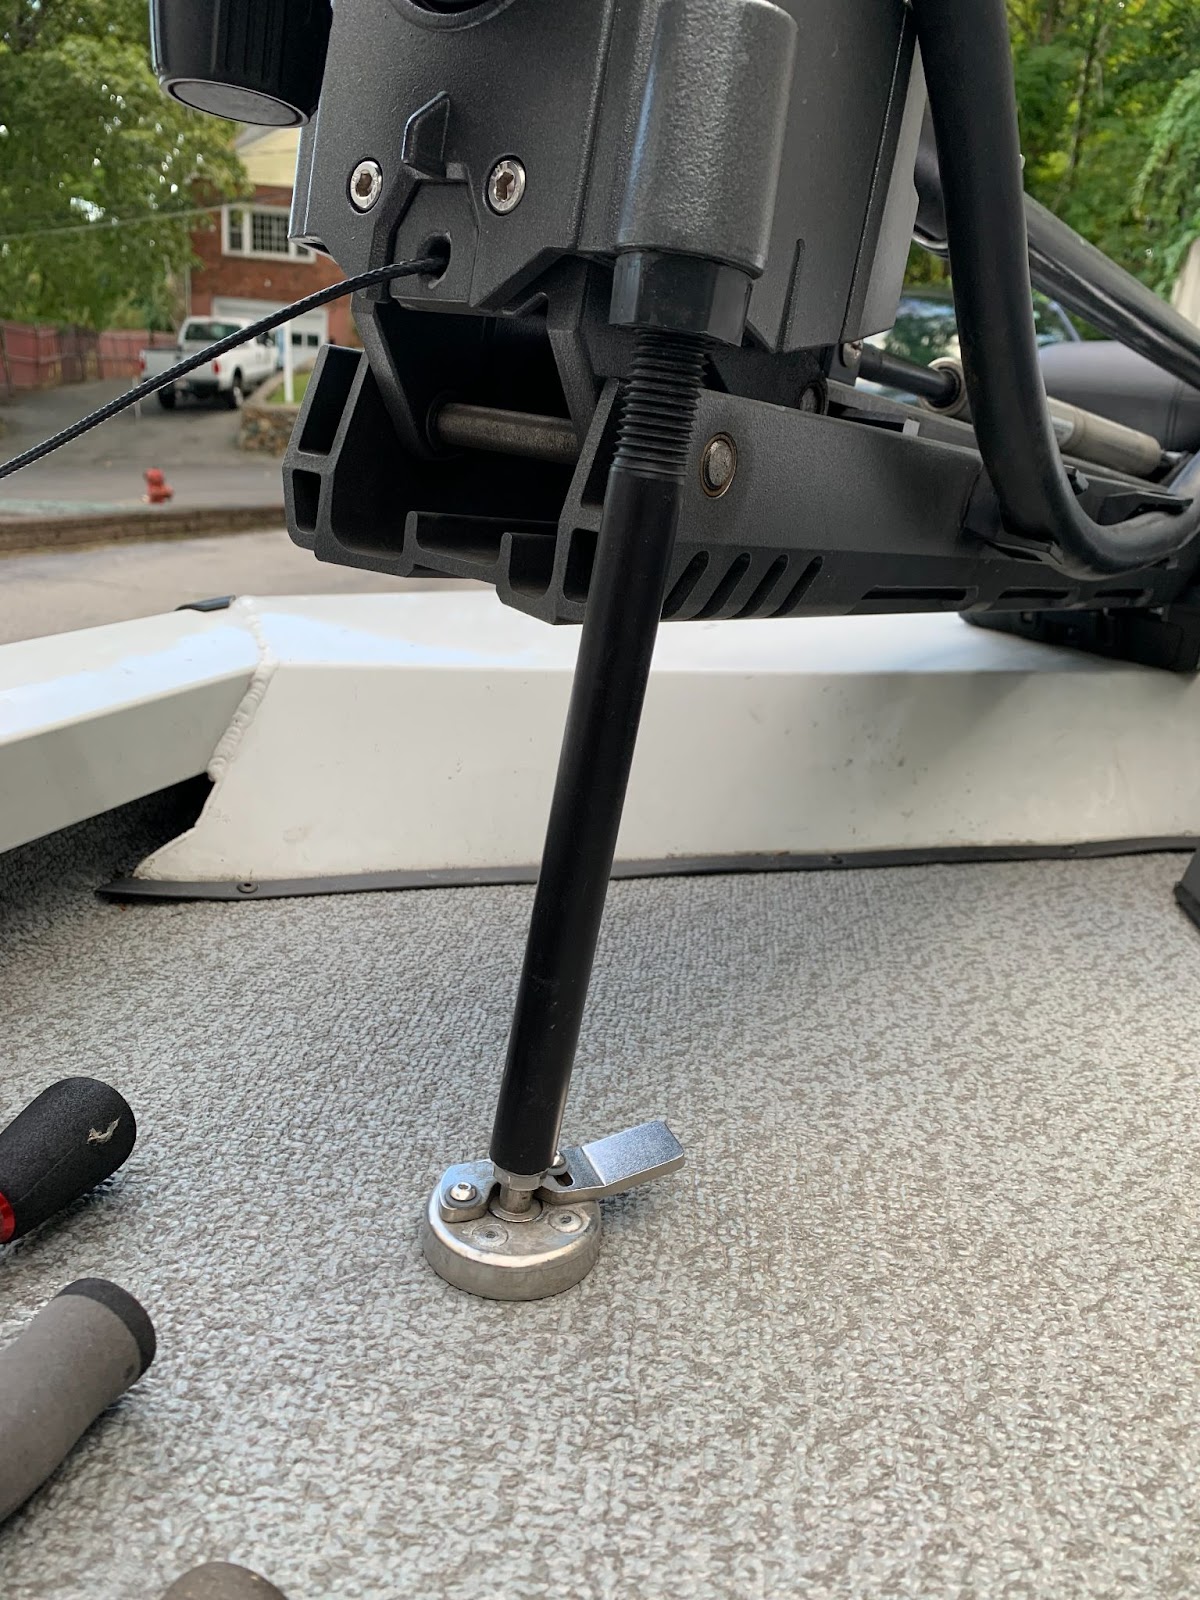
Step #3 – Position the Troll Tamer Baseplate
After the tamer bolt has been tightened into the stabilizer bar and the height looks good, lower the trolling motor and correctly position and lock the troll tamer end into the baseplate. This will give you precise positioning of the baseplate on the deck of your boat.
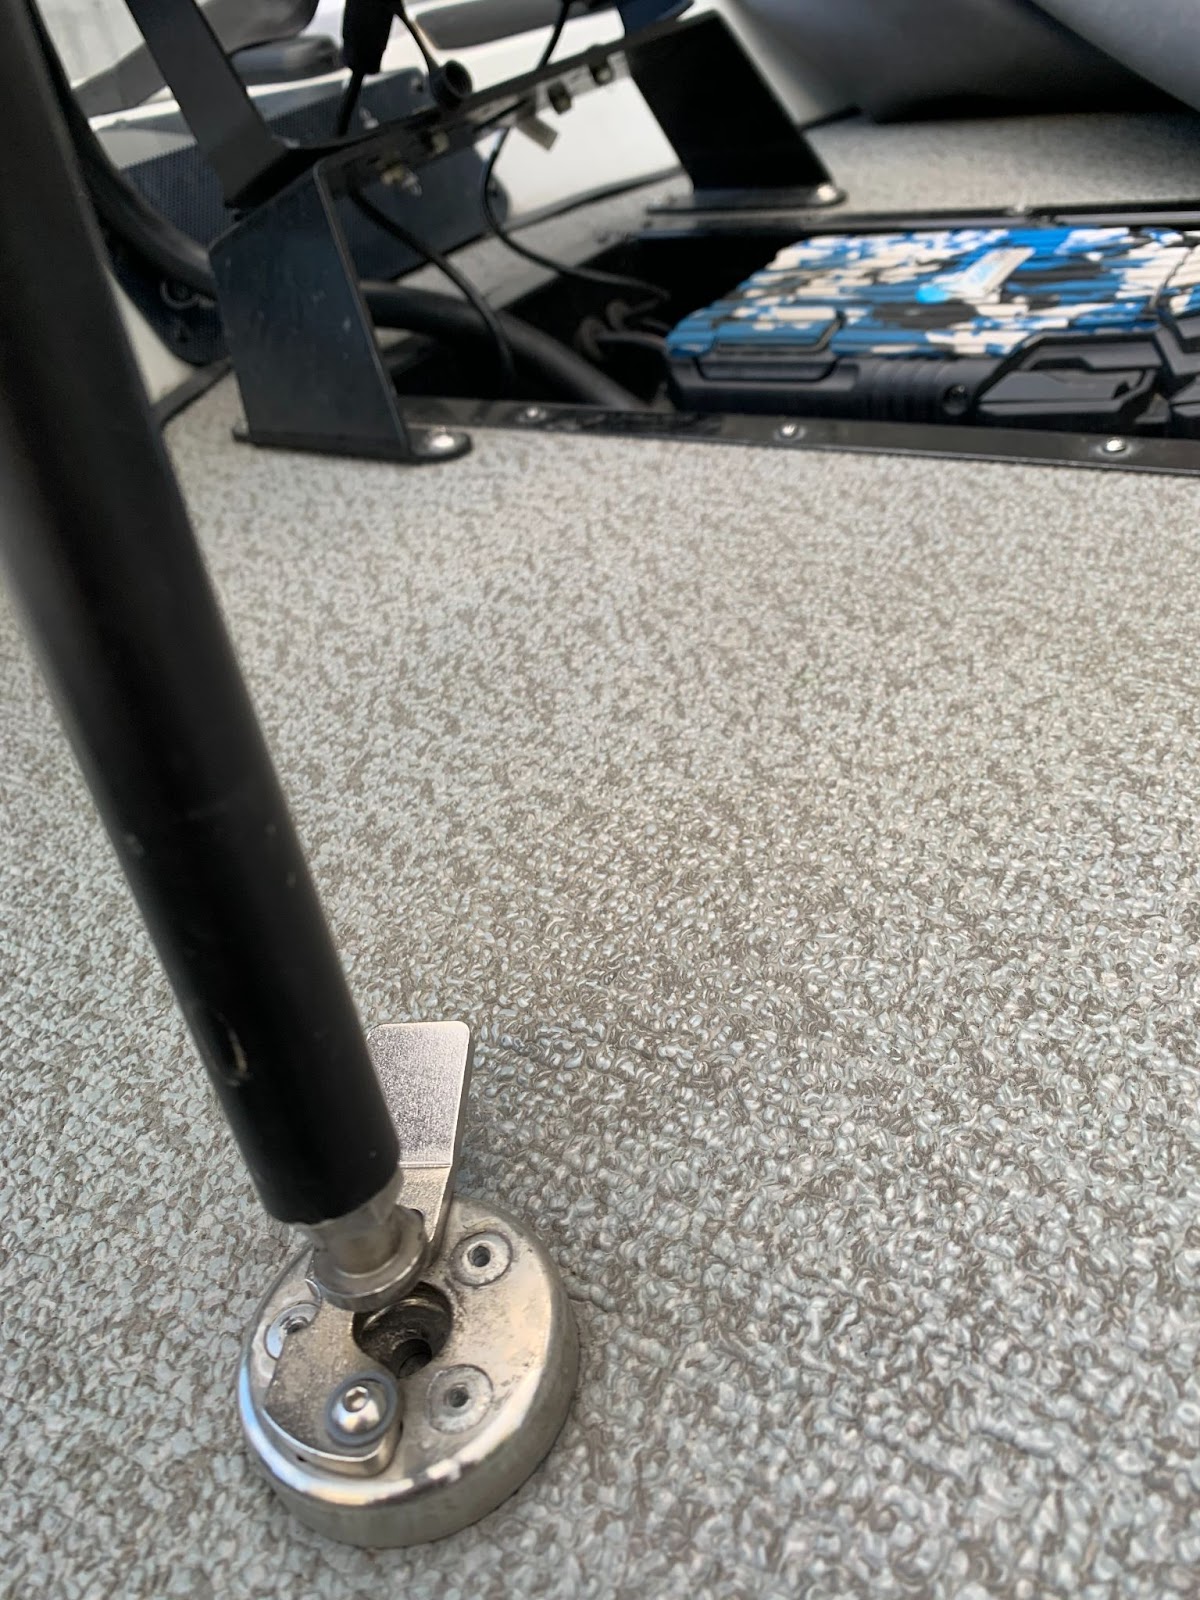
Orient the foot latching device of the baseplate such that its pointing towards the top of your recessed trolling motor foot switch pedal tray (as a reference). You want to make sure that the foot latch is easily accessible to push/disengage when wanting to deploy the trolling motor.
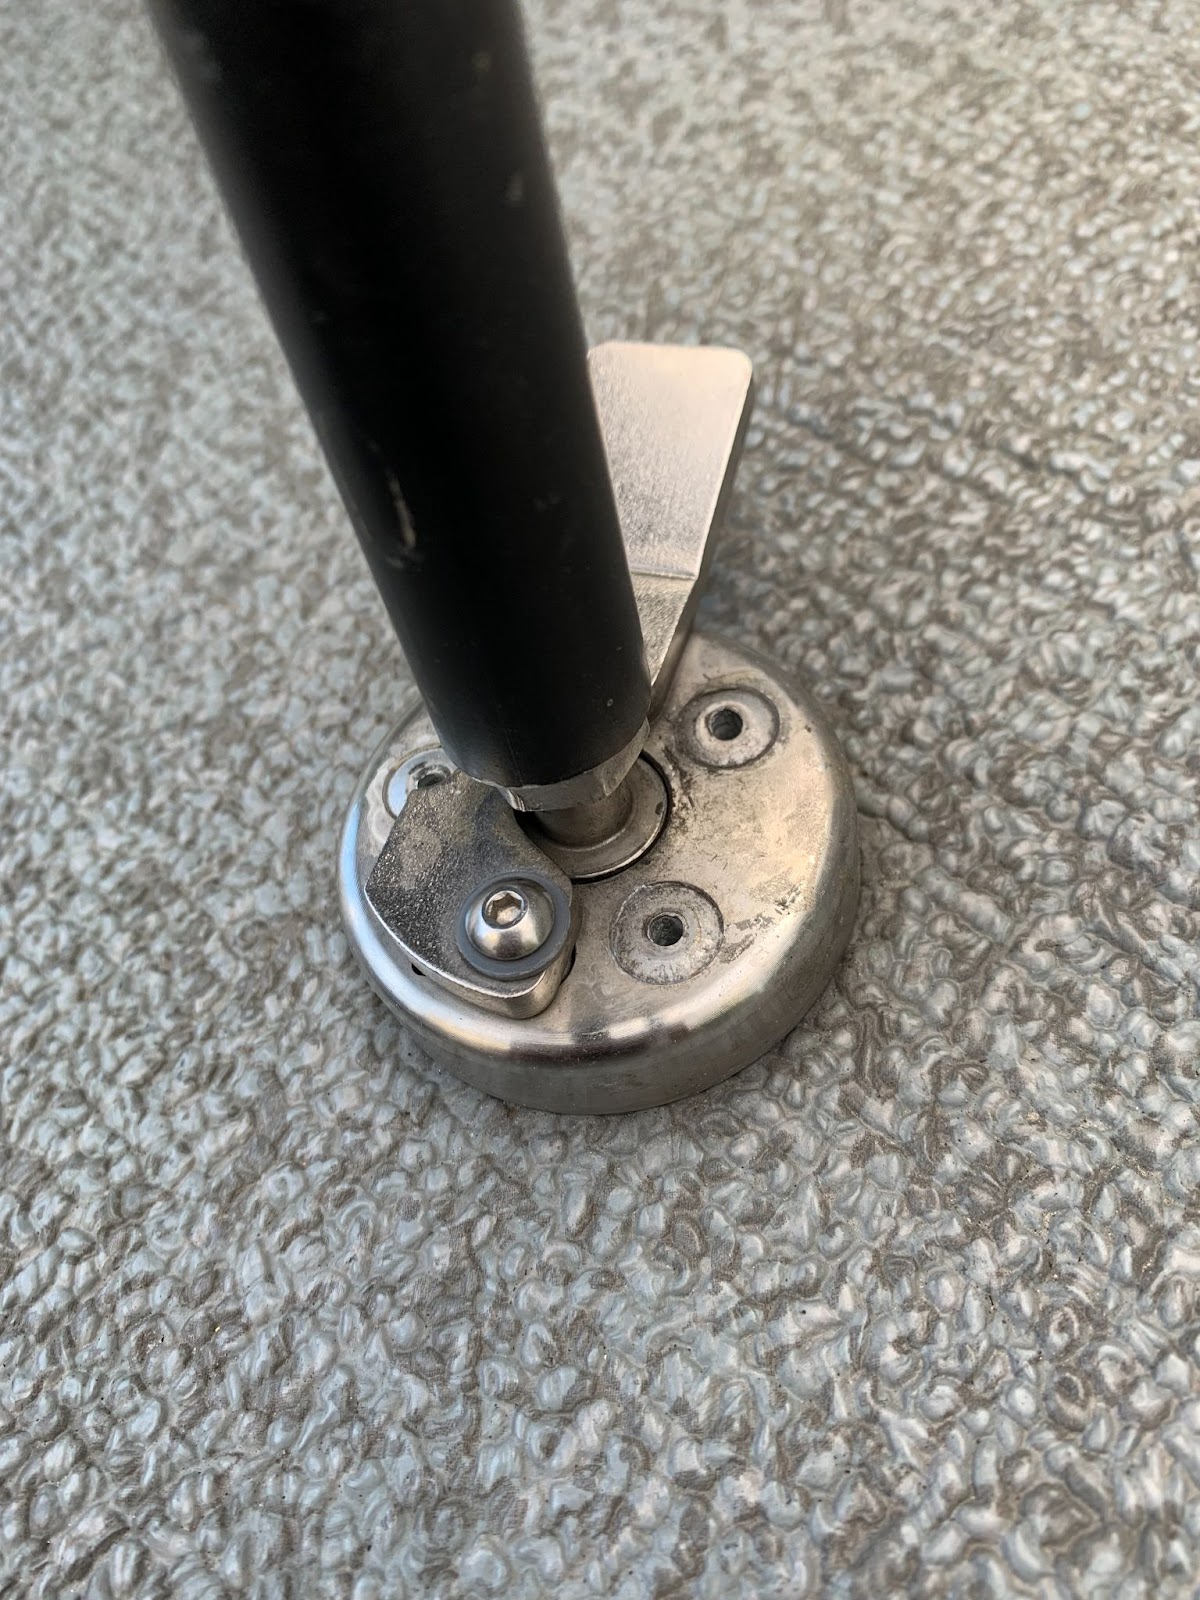
Once correctly oriented, mark the positions of the 3 mounting hole locations on the baseplate, and drill 3/16” through the deck to prepare for mounting.
Step #4 – Mount the Troll Tamer Baseplate
For this example, I used the 3/16-1” rivets to secure my tamer to my deck, which is made of marine grade vinyl. Some boats with carpet may need to use the longer 3/16-1-3/16” rivets (all linked above).
Deploy the trolling motor to give yourself room to utilize the rivet gun (linked above) and secure the baseplate to the deck of your vessel. I’d recommend pressing 1 rivet and testing location/orientation of the tamer by stowing the trolling motor before proceeding with the other 2 rivet positions.
Step #5 – Test, Adjust & Enjoy!
After installation, you are ready to test functionality and make any small adjustments you deem necessary. Stow away, deploy, and fish!! Thanks for reading!